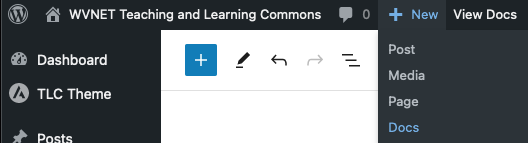
After you have logged in, click the + New and select Docs from the top toolbar
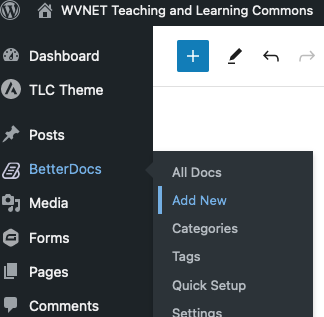
OR go to the Dashboard and under BetterDocs on the left menu select Add New
Title your new doc and add your content.
When you are done writing your content, assign it to a Knowledge Base and a Category and add any relevant Tags.
Restricting Content #
Unless specified in the document settings, the information posted will be public; however, you may restrict content to be available for all logged-in users or for logged-in users that are in a specific group.
To restrict content to logged in users, designate the content as restricted in the Docs settings.

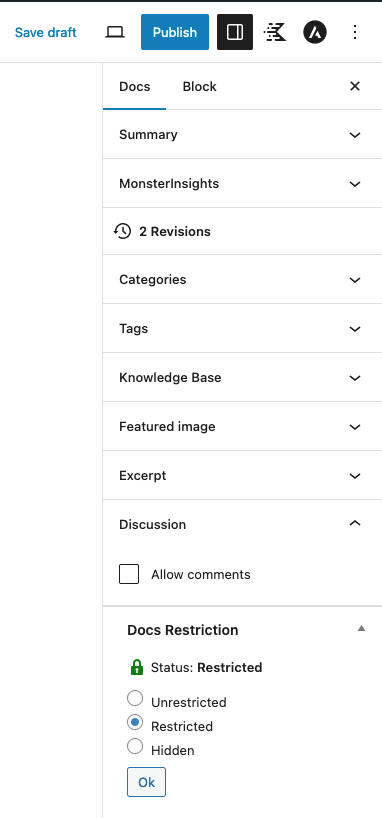
Content Restriction by Role #
If you further need to restrict content to a specific group of logged in users, use the Content Permissions at the bottom of the screen.

If this content is limited to specific logged-in users (ie. Banner Support Schools) or any other role that requires special permissions on the site, select the appropriate role in the Content Permissions section at the bottom of the editor window. NOTE: This will be below all content in the main well.
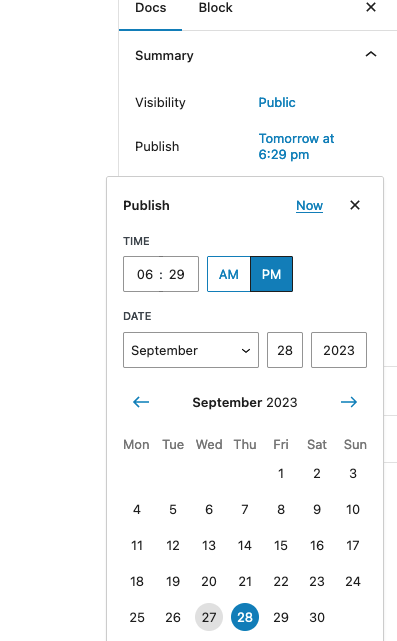
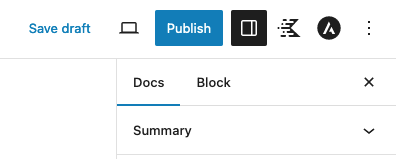
Publish or Schedule Publish #
Once your doc is ready, click Publish or Save Draft. NOTE: If you have already published your doc, the button will say “Update” rather than “Publish.”
If you want to schedule your doc to publish at a later date, you can edit the time and date you want it to be accessible in the Summary section of the editor.